If you have ever cursed an oncoming driver because their lights were blinding you, or noticed that your lights tend to illuminate the tops of roadside trees instead of the road, there is a good chance that you are dealing with misaligned headlights.

Correct headlight alignment is extremely important for vehicle safety. Properly aligned headlights not only light up the road, they help illuminate road signs and any animals that might jump out onto the road. Driving with misaligned lights is dangerous, and they should be adjusted as soon as possible.
Luckily, adjusting your headlights is a pretty easy fix that most people can handle in their driveway or garage. However, newer vehicles that have halogen or high-intensity bulbs should be taken to a professional for proper alignment.
Part 1 of 3: Reasons headlights need to be adjusted
In most cases, headlights simply slip out of adjustment over time. In fact, most headlights will need to be adjusted every few years. Here are a couple of reasons your headlights may be pointed at the sky:
Reason 1: Too much weight. One of the most common reasons that headlights are not shining on the road or are blinding oncoming drivers is due to excess weight in the trunk or cargo area. This will push down the rear of the vehicle enough to tilt the front of it up, along with the light beams.
- If you frequently haul large loads you may want to consider load-leveling air shocks, which will fix the issue. Costs will vary but expect to spend a few hundred for shocks and installation. These shocks automatically pump more fluid into the rear shocks in order to maintain ride height when the vehicle is weighed down.
Reason 2: Worn shocks. Much like hauling a heavy load, worn shocks can lead to headlights that are aimed too high. As shocks wear out they sag and if it is the rear shocks that are sagging, the front end of the car will be pointed higher than normal, throwing off the headlights. While adjusting the headlights will fix this problem, replacing the shocks is the better option.
Reason 3: Car was hit. If someone taps the front end of your car with their vehicle, it is possible the headlights will be knocked of alignment but there will not be any visible damage to your vehicle.
Part 2 of 3: Checking the alignment of your lights
It is fairly simple to check the alignment of your lights. All you need is a flat surface, a wall to project the lights on, a tape measure, a carpenter’s level, screwdriver and some tape. Here are step-by-step directions on how to verify your lights are aligned.

Step 1: Prepare the car. In order to make sure the car is properly leveled when aligning the lights make sure all the tires are properly inflated, the vehicle has at least a half tank of fuel and there is someone sitting in the driver’s seat. This will ensure that the vehicle is leveled and is reflects common driving conditions when the measurements are taken.

Step 2: Park the car. Find a flat level surface with a wall in front of it and park the vehicle about 10 to 25 feet from the wall or garage door with the lights aimed at the wall. This distance is optimal as it recreates common conditions out on the road. If you have a flat driveway, the garage door should work well, otherwise consider the ground floor of a parking ramp as it is usually flat, dark and has a wall.
Step 3: Level the car. Push down all four corners of the vehicle up and down a few times to settle the suspension and make sure the shocks are level.

Step 4: Measure the lights. Use the tape measure to measure from a fixed point on each of the headlamps down to the ground. The measurements should be within a half inch of each other. This will verify the suspension is not sagging on either side, which would throw off the measurements.
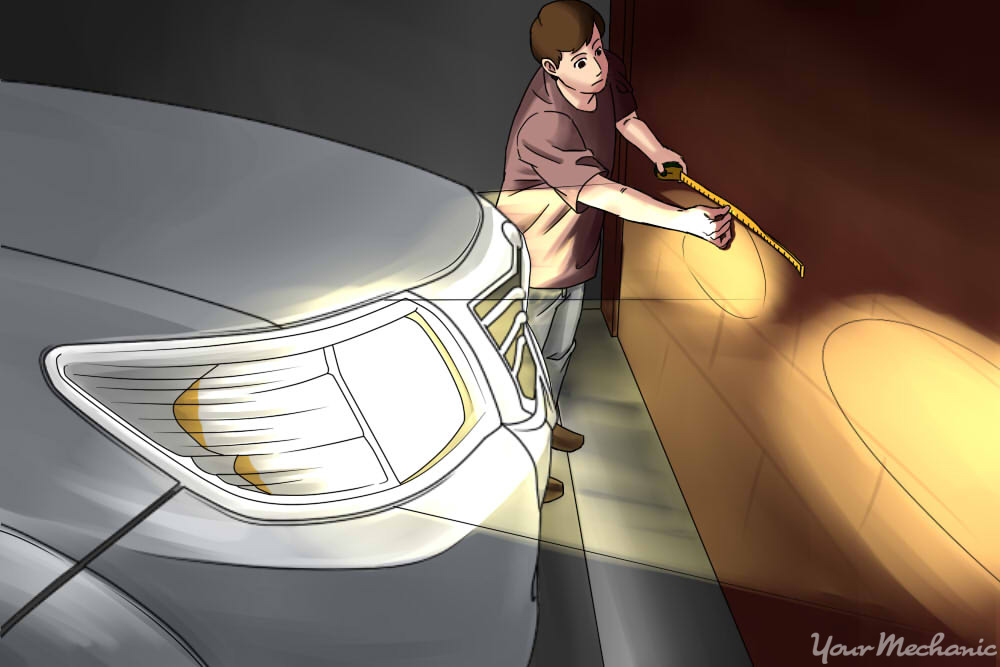
Step 5: Turn on the headlights. Turn on the lights but do not use the fog lights or high beams. Use the tape to mark both the horizontal and vertical centerlines of the headlight beams.

Step 6: Measure the lines. The centerlines should not be any higher than 3.5 feet above the ground. Use the carpenter’s level to verify the centerlines from each headlight are even. If the lines are not even, lower the higher mark to the level of the lower one.

Step 7: Back up the car. The car should now be backed up so it is sitting exactly 25 feet from the wall. This should not be estimated, use the tape measure so the vehicle is exactly 25 feet away.
- While 25 feet is standard for most vehicles, the specifications do vary by automaker so be sure to check your owner’s manual for details. Regardless of the recommended distance, accuracy is key so carefully measure the distance with a tape measure.
Part 3 of 3: Adjusting the lights
Now it’s time to make the adjustments to get your lights shining down on the road, where they belong.

Step 1: Find the adjustment screws. The first thing you need to do is locate the adjustment screws on your vehicle. In many cases, it will be necessary to remove the trim ring from the headlight. Most adjustment screws are located on the top and side of the light housing. They should be clearly marked.
- If you cannot locate the screws, check your owner’s manual.
- It should be noted that some manufacturers have located the adjustment screws in the engine compartment behind the headlight housing. It may be necessary to remove the battery or even the coolant reservoir to reach the screws. In some cases, it may pay to have a professional do the work.
Step 2: Adjust the headlights individually. If possible, having another person sitting in the driver’s seat that can turn the lights on and off will be a big help. The headlights should be adjusted one at a time. Put a rag or towel over a chair in front of the light you want to block. Covering the light assembly directly can damage the plastic lens - it can get too hot if fully blocked.
Step 3: Adjust the vertical field. The screw on the top of the light housing should be turned clockwise to raise the lights and counterclockwise will lower the light. The headlight should be adjusted until the top of the most intense part of the light beam shines directly on or just below the center of the tapeline on the wall.
- It can be somewhat difficult to determine the middle of the most intense part of the beam but in general, there should be very little of the overall beam above the line.
- The lights should be turned off while adjusting the screws and then turned back on to determine if the adjustment was successful or further adjustment is needed.

Step 4: Adjust the horizontal field. The screw on the side of the light housing should now be turned to get the right/left adjustment correct. Adjust the lens so that the most intense part of the beam is to the right of the vertical line.
Step 5: Check manufacturer guidelines. It is always a good idea to check the manufacturer’s guidelines when adjusting headlights, as there may be very precise specifications that should be followed. This is especially true with the brighter headlights on new vehicles.
Step 6: Test your results. It’s time to get the vehicle out on the road to make sure the headlights are adjusted properly. This step is important because if you have done the adjustment incorrectly the headlights could be further out of adjustment. Check them on dark road so you can properly judge the adjustment. If they are still not properly adjusted repeat these steps until they correct.
